Through plenty of tests, changes, and just flat out fails, Behemoth is alive. This guy went through a lot of trials, and changed a lot along the way. Originally, I had made a basic model in ZBrush and used that during the Prototype in order to do some animation tests. I wasn't sure how I was going to go about creating the model, and there seemed like a few solid options. The first test I tried was to go along the entire basic model and extrude out polygons from it in order to create the armour. It seemed like it would turn out alright, but in the end with the way I had approached it, it really just looked flat out awful and I knew it wasn't going to be something I could be happy with. Then, I had the idea of trying to create the model in ZBrush. I wanted to get more familiar with the program anyway, so it seemed like a strong idea. However, every time I tried to bring the model in to Maya, it was just way lower resolution than I expected, and I just couldn't figure out how to get some weird changes it was experiencing under control. Not to mention that it was porting over in millions of polygons, which was definitely not ideal. Although I was frustrated with the process, I just moved on to my next option.
 |
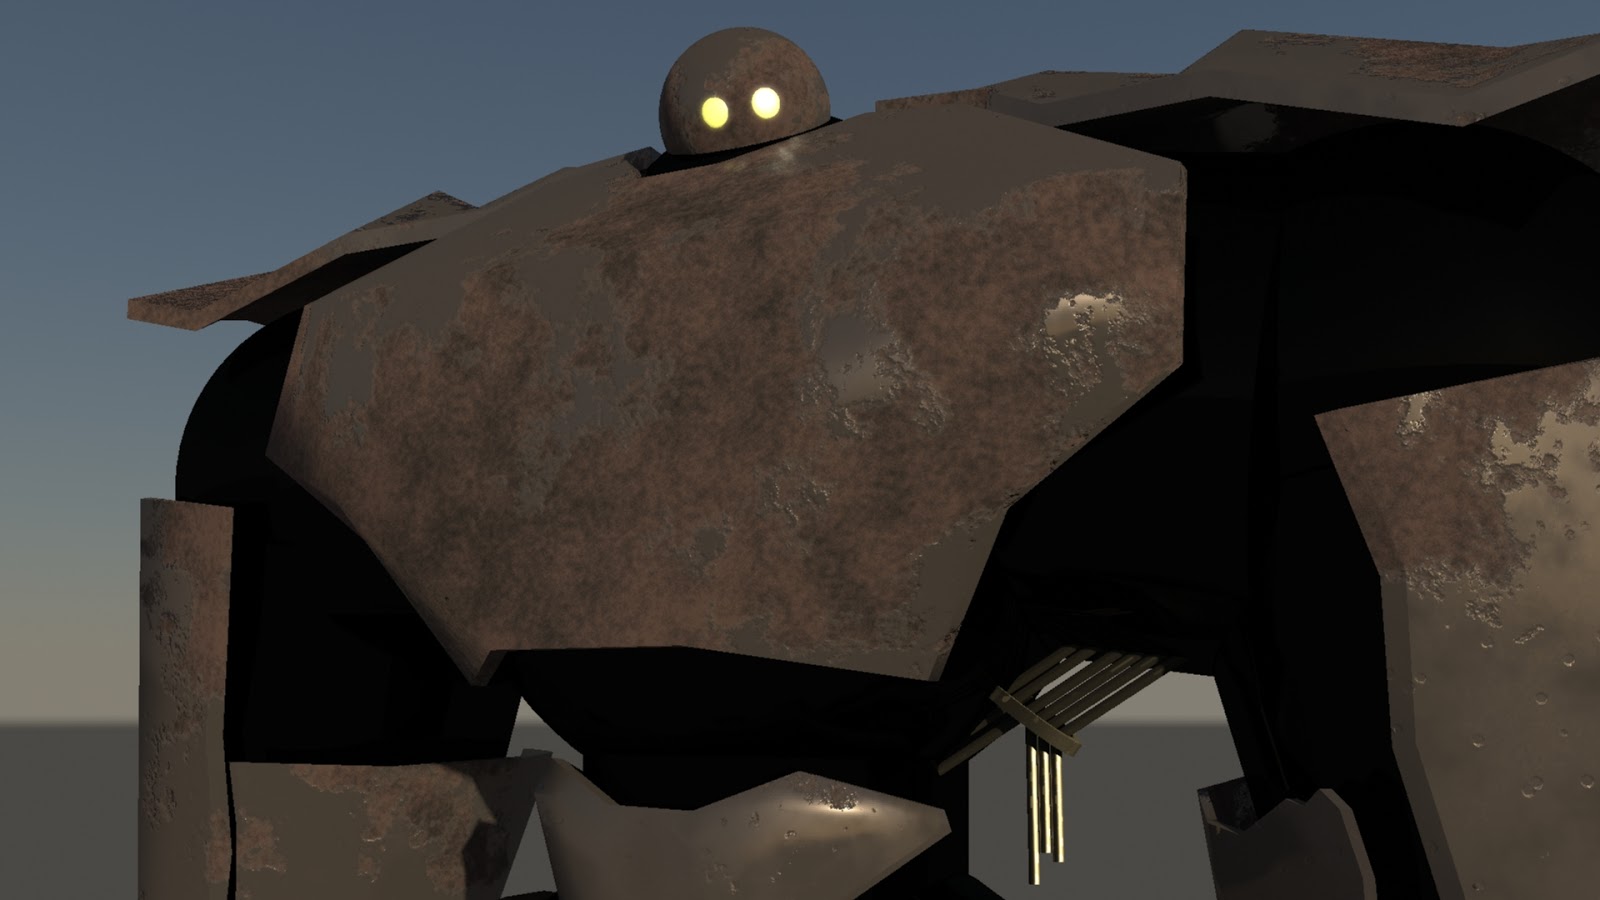
Behemoth (by Colin Grey)
|
 |
| Concept reference |
I began modelling each individual piece of armour in Maya, and then placing it around the base model, making sure to fit each piece so it would fit properly and would not interrupt anything when being moved around and animated. When I was happy with the pieces, I moved onto the textures. After trying plenty of different styles for the armour texture, I found one that I was fairly happy with. It gave the right reflection and looked good. However, it didn't 'wow' me, and I kept trying. I found a basic rust texture on-line, and although it didn't look great, it definitely had a cool feel to it. I edited it heavily, and then figured out how to merge it with the previous texture I had created, in order to get the current texture.
 |
|
Then I began on the dynamic wires. I wanted to create something that would hang and react to its surroundings as we animated it. At first, we attempted to create the wires using hair (as we had created the tongue for Herbil), however, after playing with it for a while, I was just really not taking a liking to it. It did not take on textures well, and was not easily manipulated to look how I wanted it. I decided to try and change it up in order to match the concept more. I created nCloth wires, and placed them around the body, making sure that as the robot moves in animation that the wires were reacting properly (bouncing off the body and so forth)... and they worked! I edited the old texture I had created for the robot slightly, placed it on the wires, and it managed to work well with the rest of the model.
I finished up the model by manipulating the armour in various places to break up the symmetry and look old and decaying in order to match the textures. The UV maps were smoothed out and made sure they were all functioning properly. I also spent some times trying to create some sparks which would shoot out of the end of the wires, but I decided it was taking longer than we wanted it to, so I scrapped it, and if we get time in Post, we can look at adding it in a different way.
The image above shows some of the rig controls for the robot. His rig makes sure that he will be able to do everything he needs to for our animation, with the ability to move his knees, feet, legs, arms, wrists, fingers, neck, and so on. His rig updated as the model did, and was done with parenting (linking the body parts together instead of weighting certain areas) in order to get the proper blocky robot movement needed.


No comments:
Post a Comment